

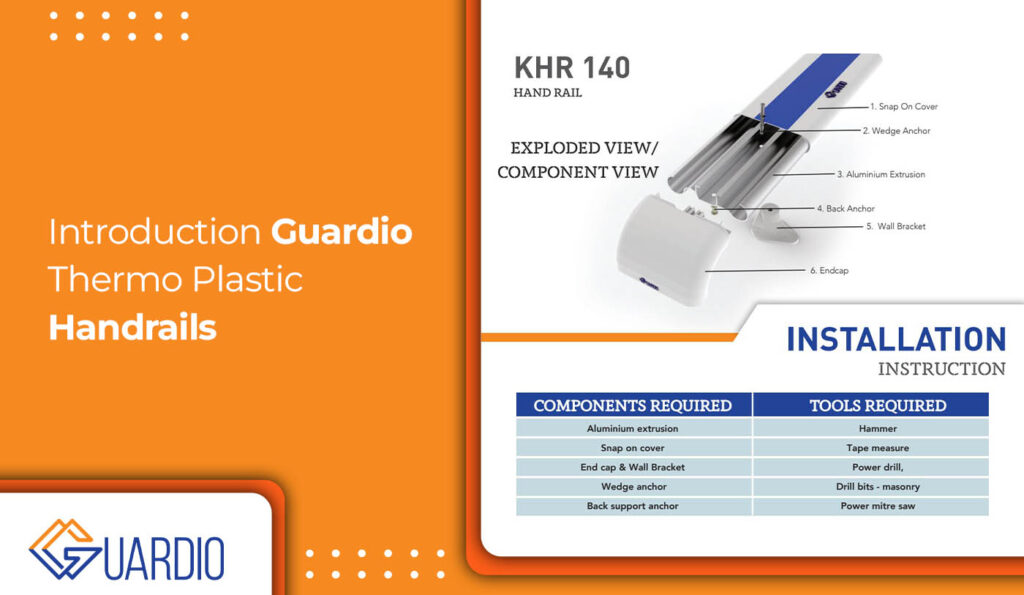
Introduction Guardio Thermo Plastic Handrails
Handrails play a vital role in providing support and safety, especially in areas with stairs or slopes. They offer stability and reassurance, reducing the risk of accidents and promoting accessibility for individuals with mobility concerns. When it comes to installing handrails, one excellent option to consider is the Guardio Thermo Plastic Handrails.
In this guide, we will take you through the step-by-step process of installing these durable and reliable handrails, ensuring a successful installation that enhances both the aesthetic appeal and functionality of your space.
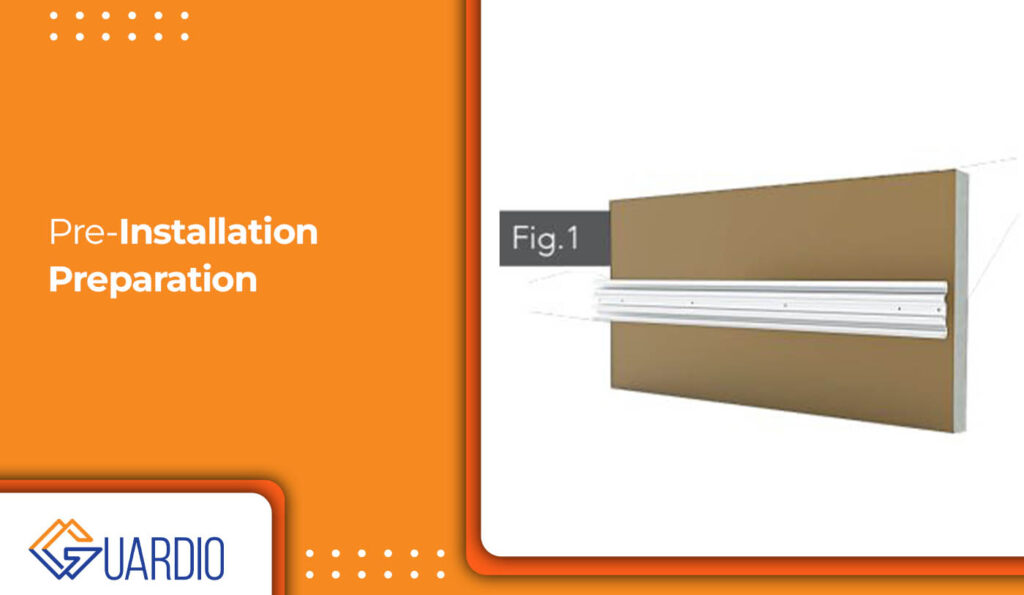
Pre-Installation Preparation
Before diving into the installation process, it’s essential to gather the necessary tools and materials. This will ensure a smooth and efficient installation. You will need a measuring tape, level, pencil, drill with appropriate bits, screws, and a screwdriver. Additionally, acquire the Guardio Thermo Plastic Handrails kit, which includes the handrails, mounting brackets, and any additional accessories mentioned in the product instructions.
Next, measure and plan the installation. Take accurate measurements of the area where the handrails will be installed, ensuring the correct height and length. Consider local building codes and accessibility standards to determine the appropriate height for your specific location. Plan the spacing between handrail brackets, ensuring they are evenly distributed along the length of the handrails.
Installation Process
Marking The Positions
Start by marking the positions where the handrails will be installed. Use a level to ensure the markings are straight and aligned. Begin by determining the appropriate height for the handrails based on local regulations. This usually ranges between 34 to 38 inches from the ground. Measure and mark the height at each location where the handrails will be mounted.
Next, ensure proper spacing between the brackets. Measure the total length of the handrails and divide it by the number of brackets you have. Mark the positions for each bracket, ensuring they are evenly spaced along the length.
Preparing The Handrails
Now it’s time to prepare the Guardio Thermo Plastic Handrails for installation. If necessary, cut the handrails to the desired length using a saw or appropriate cutting tool. Take accurate measurements and ensure clean, precise cuts.
After cutting the handrails, you may need to drill holes for mounting. Refer to the instructions provided with the Guardio Thermo Plastic Handrails kit for the specific hole placement and size. Use a drill with the appropriate bit to create the holes, ensuring they align with the markings made in the previous step.
Attaching The Handrails
With the positions marked and the handrails prepared, it’s time to attach them securely to the wall. Begin by inserting screws through the pre-drilled holes in the handrails. Position the handrail brackets over the screws, aligning them with the markings on the wall.
Using a screwdriver, tighten the screws, securing the handrails and brackets firmly to the wall. Ensure the handrails are level and straight, adjusting the brackets if needed. Repeat this process for each bracket along the length of the handrails.

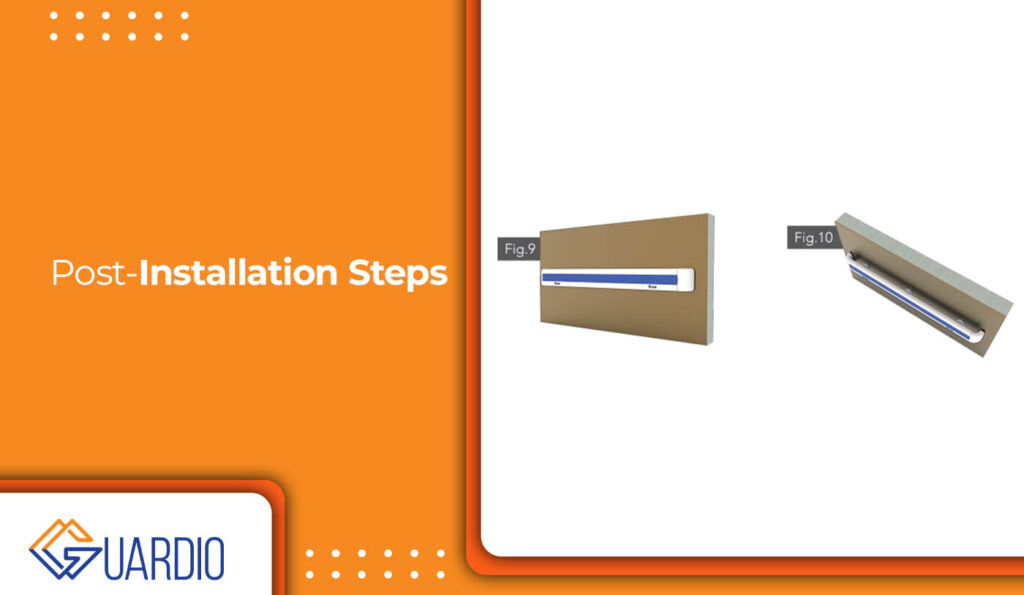
Post-Installation Steps
Once the handrails are installed, it’s crucial to inspect the installation for any issues or discrepancies. Check for any loose screws or brackets and tighten them if necessary. Confirm that the handrails are securely attached to the wall and that they provide the desired stability and support.
Testing the stability and strength of the handrails is equally important. Apply gentle pressure and ensure they can withstand the expected weight and force. If any concerns arise during the testing process, reevaluate the installation and make any necessary adjustments.
Conclusion
Installing Guardio Thermo Plastic Handrails can significantly enhance the safety and accessibility of your space. By following this step-by-step guide, you can ensure a successful installation that meets the necessary standards and regulations.
Discover how to install them step-by-step in our blog post. 🚧💼🔨 👉 https://www.guardio.in/blog/installing-guardio-thermo-plastic-handrails-guide/
Tag: GUARDIO HANDRAIL INSTALLATION, GUARDIO HANDRAILS GUIDE, HANDRAILS INSTALLATION, INSTALLING GUARDIO HANDRAILS