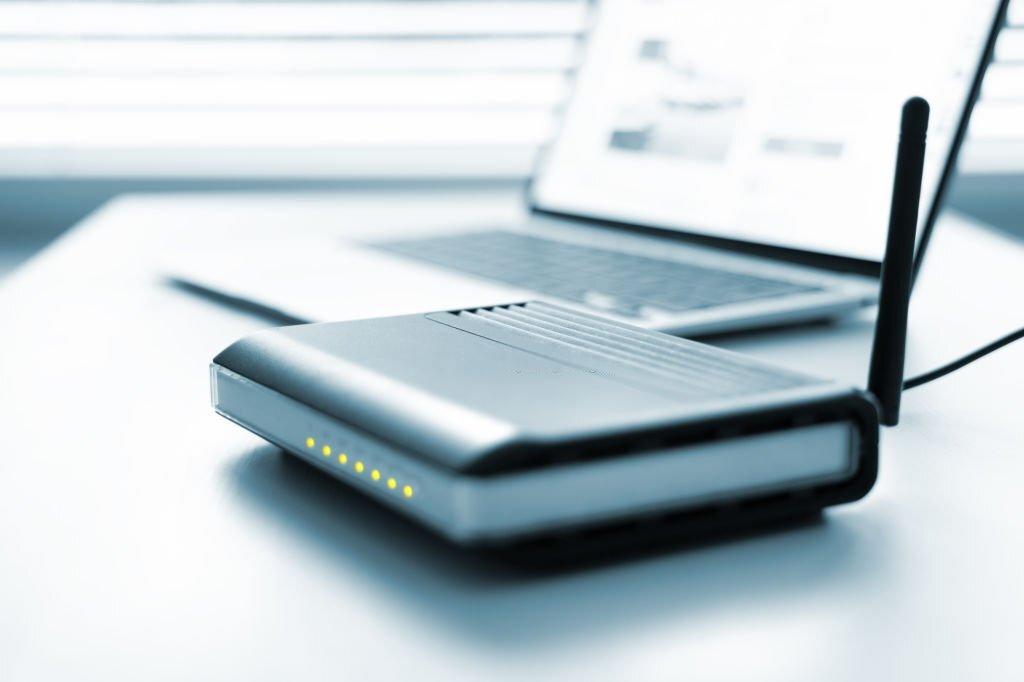
Initially, place the modem plug-in socket and turn it on. Later, with the modem LAN port connect the router WAN port. After that, connect the router to the WiFi device. Now, open Chrome and fill in the Wavlink default web address in the URL bar. Next, fill in the password and click on the login button. Then, pick up or choose the WAN connection type and from there click on the DHCP or dynamic IP option. In the end, consider all the on-screen directions to finish the Wavlink router setup process.
However, if for any reason the installation process fails, take into account the troubleshooting advice here. Place the Wavlink router near the modem during the setup. The device needs to be connected to the default Wavlink network. Add the necessary login information. Install Wavlink's most recent software update. Try to reset the Wavlink router's configuration settings completely. In the end, repeat the router setup process using the web portal or the Wavlink WiFi app.