This article will give us an insight into fishing rod holders for garage.
Are you an avid angler looking forward to the fishing season? One essential step to ensure a smooth and organized fishing experience is to prepare and install a fishing rod holder in your garage. Having a designated space to store and organize your fishing rods not only protects them from damage but also makes it convenient for you to access them whenever you're ready to hit the water. In this article, we will guide you through the essential steps to prepare and install a fishing rod holder in your garage, ensuring that you are well-equipped for the upcoming season.
Preparing Your Garage
Before diving into the installation process, it's important to prepare your garage to accommodate the fishing rod holder. Start by decluttering the space and removing any unnecessary items that may hinder the installation process. Sweep the floor and ensure that the area where you plan to install the rod holder is clean and free from any obstructions. This will provide a clean canvas for the installation and make it easier to work in your garage.
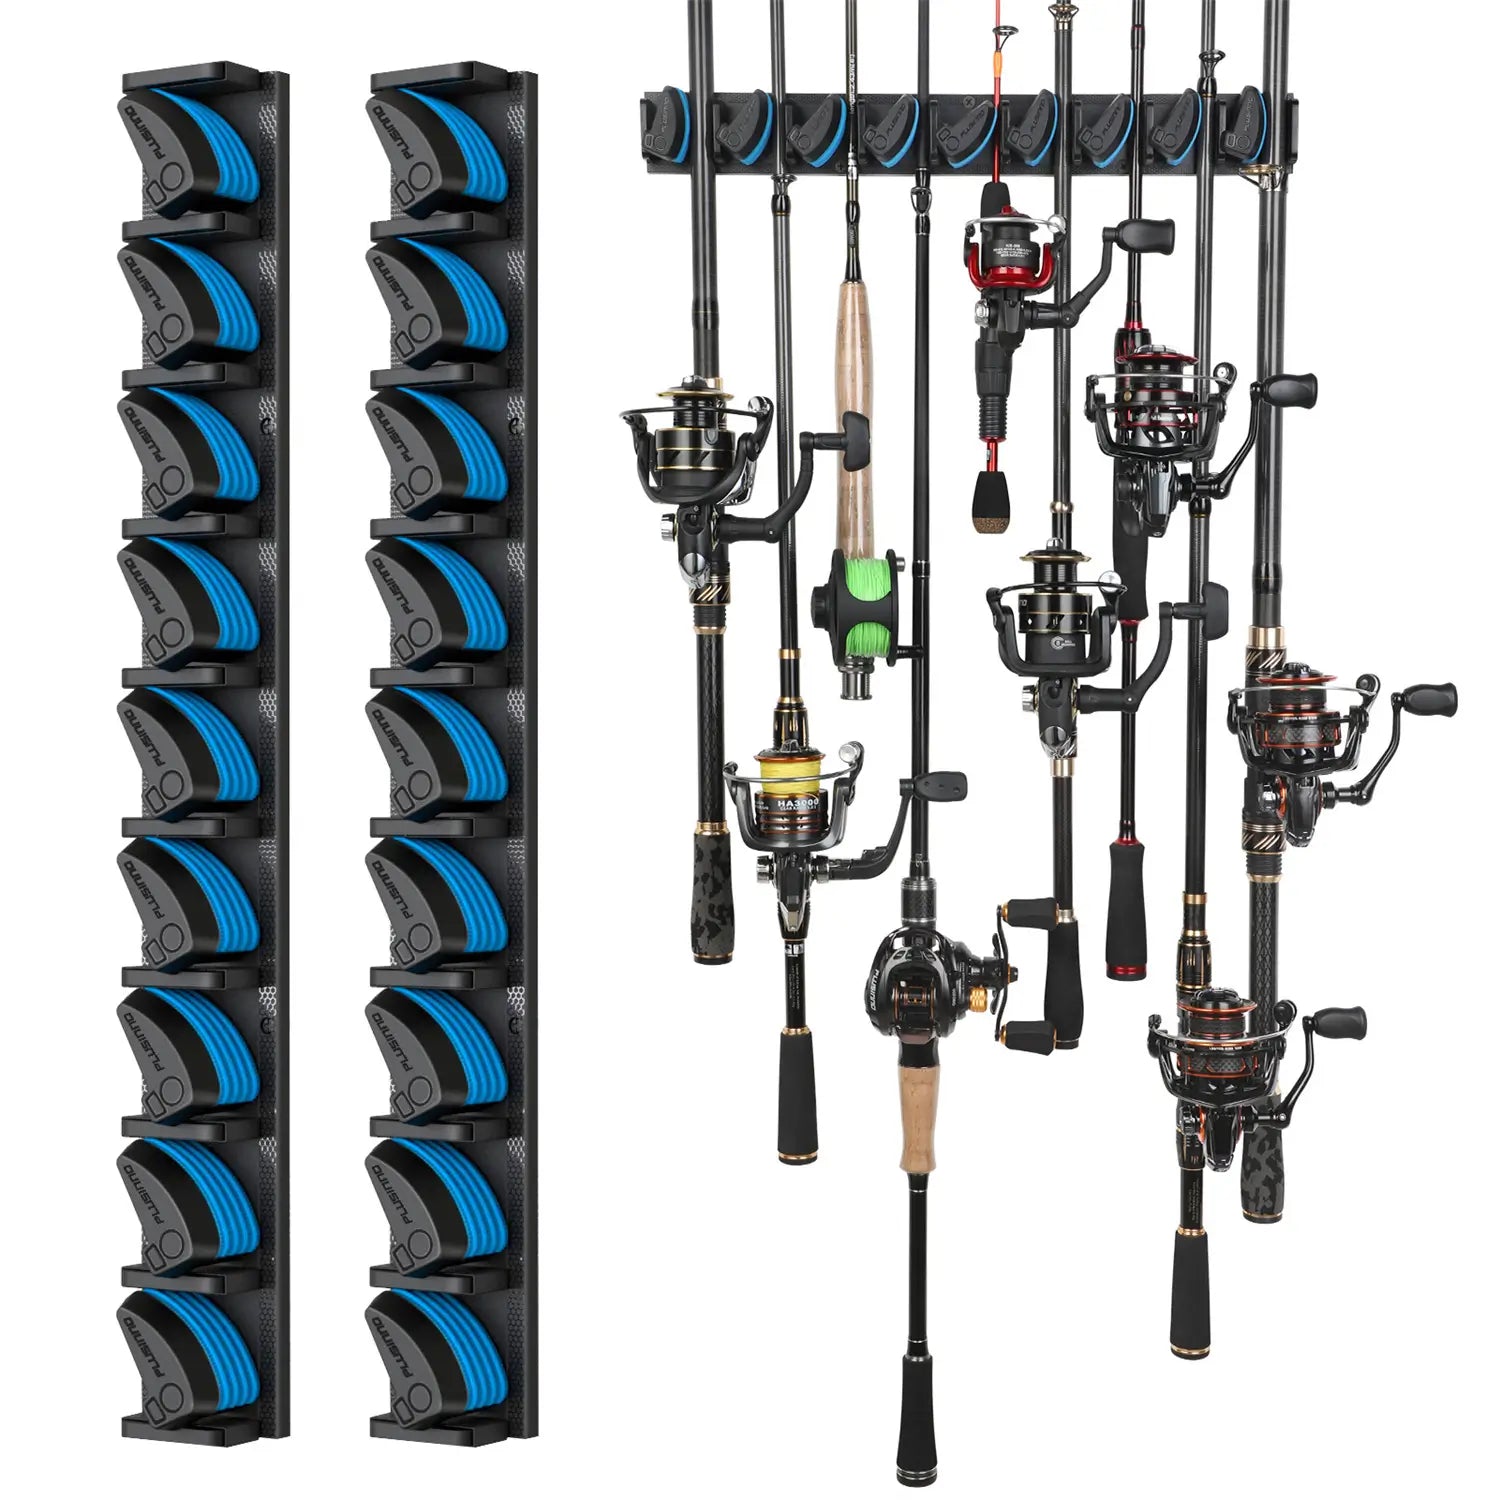
Choosing the Right Fishing Rod Holder
When it comes to selecting a fishing rod holder for your garage, there are various options available in the market. It's essential to choose a holder that suits your needs and fits well within your garage space. Consider factors such as the number of fishing rods you own, the type of rods you have, and the available space in your garage. Wall-mounted rod holders, ceiling-mounted holders, and freestanding holders are some popular options to explore. Research different types of fishing rod holders and read reviews to make an informed decision.
Installing the Fishing Rod Holder
Now that you have prepared your garage and chosen the right fishing rod holder, it's time to proceed with the installation process. Follow these essential steps to ensure a successful installation:
Step 1: Measure and Mark
Start by measuring the distance between the mounting holes of the rod holder. Use a measuring tape and a pencil to mark the spots where you will be drilling the holes. Ensure that the marks are level and aligned properly to maintain the stability of the rod holder.
Step 2: Drill Pilot Holes
Using an appropriate drill bit, drill pilot holes at the marked spots. Pilot holes will help prevent the wood or wall from splitting when you insert the screws. Make sure the pilot holes are slightly smaller than the screws you will be using for the installation.
Step 3: Attach the Fishing Rod Holder
Align the fishing rod holder with the pilot holes and secure it in place using screws. Use a screwdriver or a drill to tighten the screws, ensuring that the holder is firmly attached to the wall or ceiling. Double-check the stability of the rod holder before proceeding.
Step 4: Test and Adjust
Once the fishing rod holder is installed, test it by placing your fishing rods in the holder. Ensure that the rods fit securely and are easily accessible. If needed, make any adjustments to the positioning of the holder or the spacing between the rods to optimize functionality.
Keeping Your Fishing Rods Safe
Now that you have successfully installed a fishing rod holder in your garage, it's important to take additional steps to keep your fishing rods safe and in good condition. Consider storing your rods in rod sleeves or using rod covers to protect them from dust, moisture, and potential damage. Additionally, regularly inspect your fishing rods for any signs of wear and tear, and perform necessary maintenance to prolong their lifespan.
By following these essential steps to prepare and install a fishing rod holder in your garage, you can ensure that your fishing rods are organized, easily accessible, and well-protected. This will not only enhance your fishing experience but also contribute to the longevity of your fishing gear. Get ready for the season by setting up your fishing rod holder today!